7. BETA PROTOTYPE - MaxxBag
So here we are at the very end of a most challenging journey I had in the last several years.
Finally, after the poll I conducted, my totebag got the name: MaxxBag.
From 31 respondents 38.7% (12 votes) voted for the name MaxxBag (which is my favourite too).
Complete survey results and the Name Exploration procedure with Matrix and evaluation criteria are presented here on the page 7a (in the Name Rate box when you click on View results it shows votes and percentages).
It was fun, exciting and playful, but also rough and tough here and there, for me especially regarding the ‘paper work’ like matrices, tables, statistics and similar. A few times I almost quit, but the challenge was irresistible... so, I continued and here is the result said through photos since the picture is worth a 1000 words (please click on the photo to enlarge it):
I started from a scratch, from making a first pattern to finding solutions for many details – made many, many mistakes and corrected them. I did lots of iterations, sewing and un-sewing (the latter is very time consuming).
My previous sewing experience helped me a lot, but it was a first totebag I ever made.
The most difficult problem was to find the matching hardware – metal rings, swivels, buttons, snaps in one colour (had no slightest idea that something like this can be such a trouble in Toronto. Due to this I learned a new English word: ‘haberdashery’ and also that the last shop of this kind was closed in 2009...)
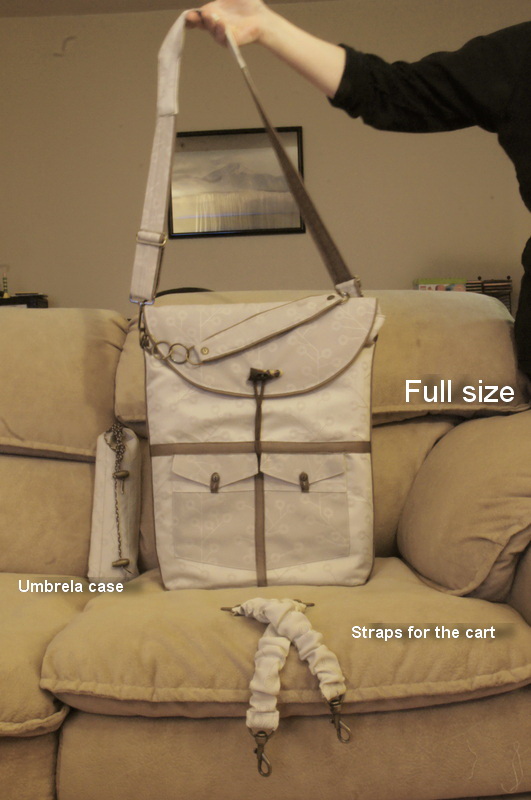
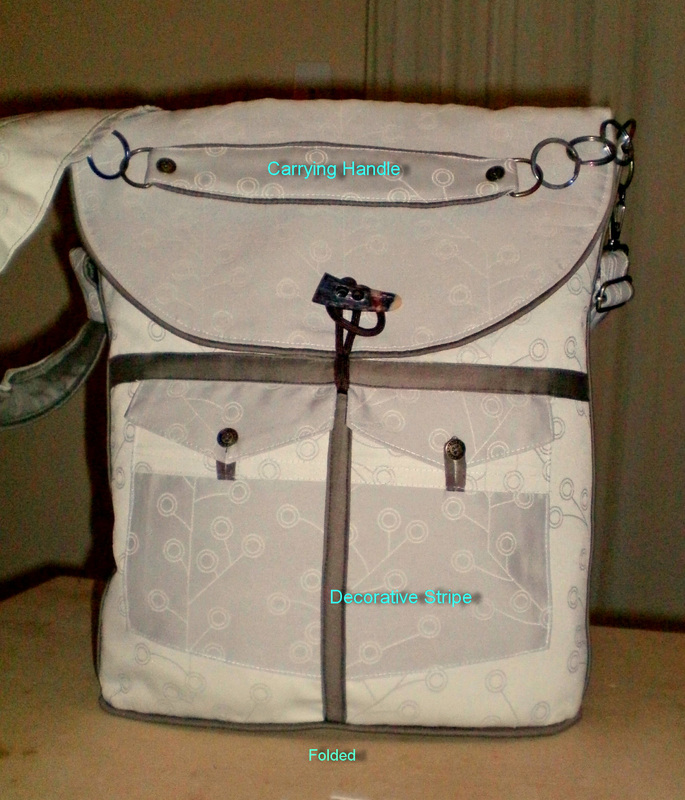
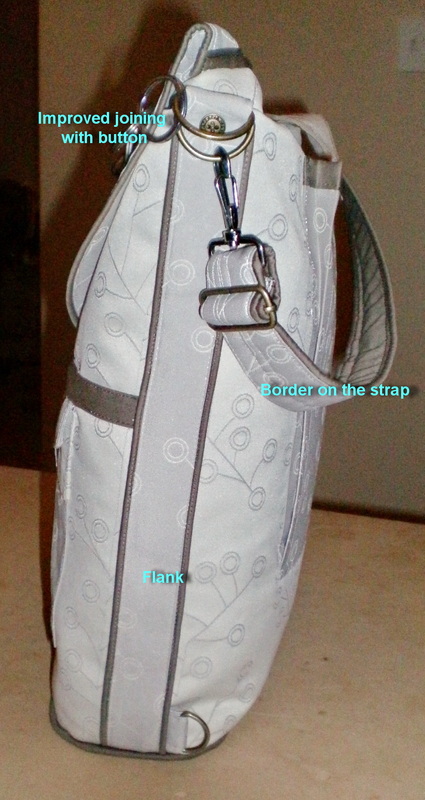
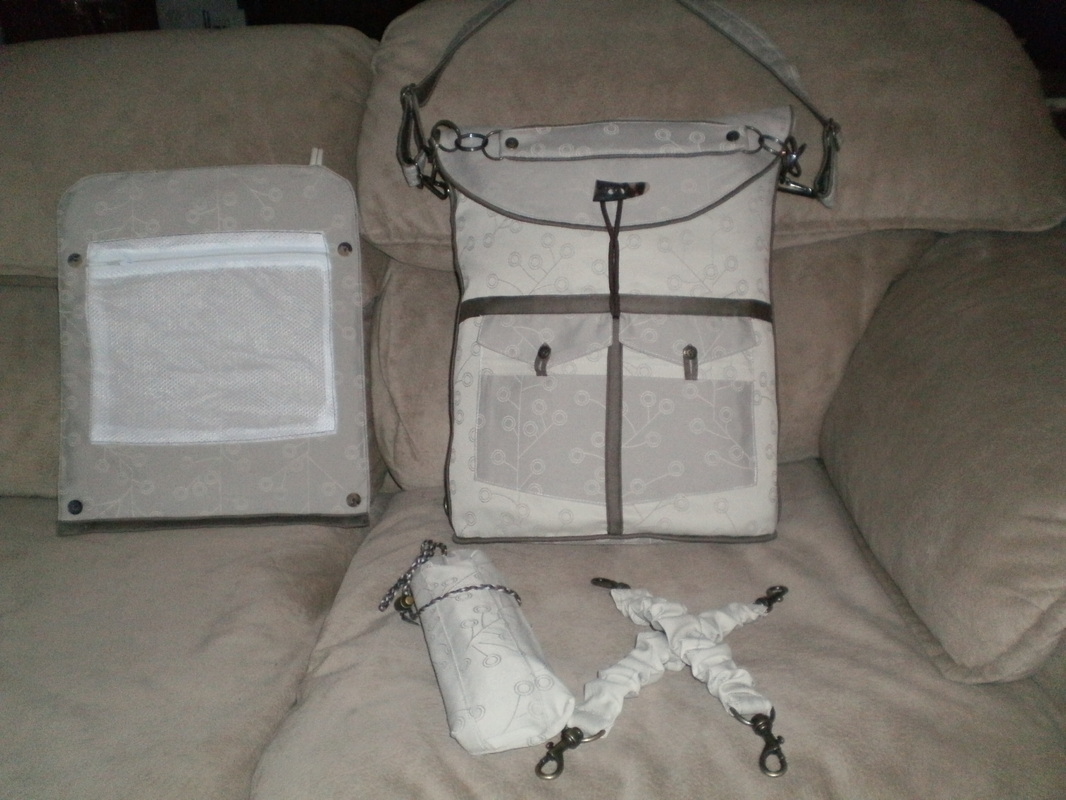
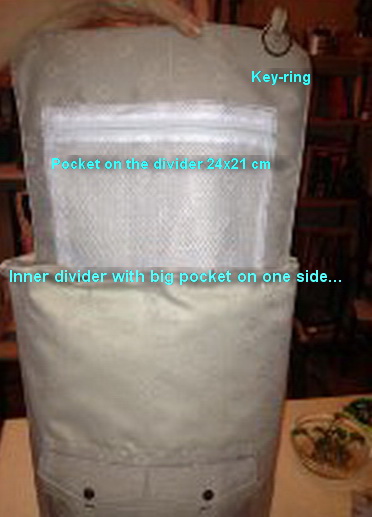
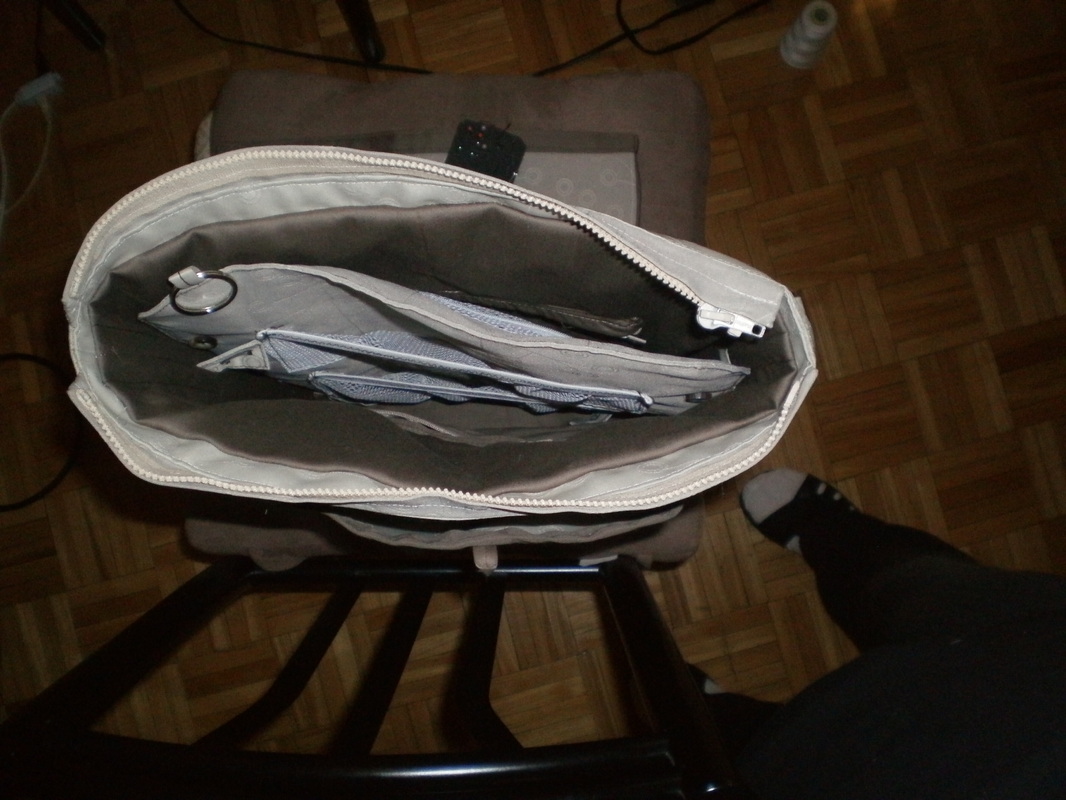
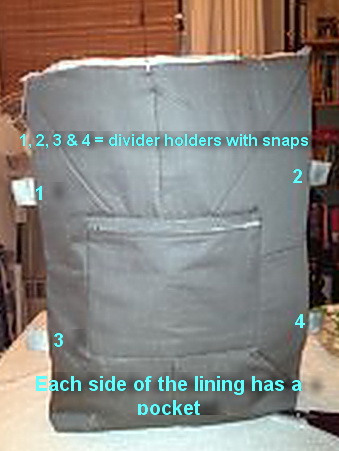
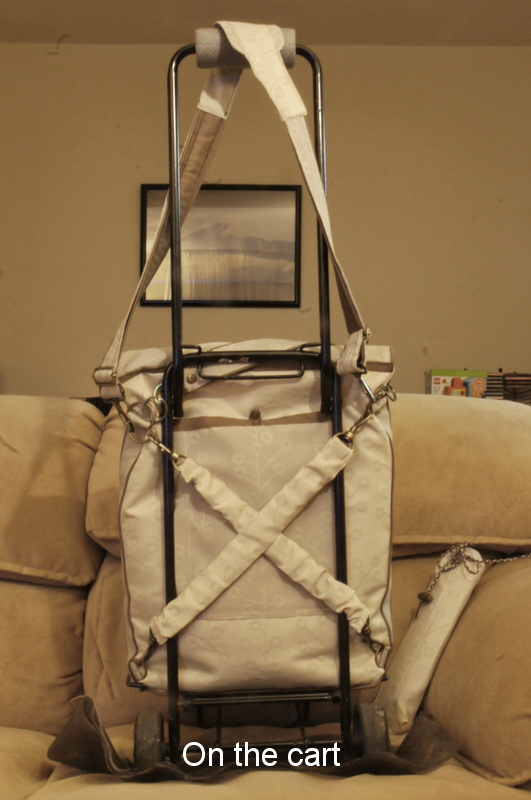
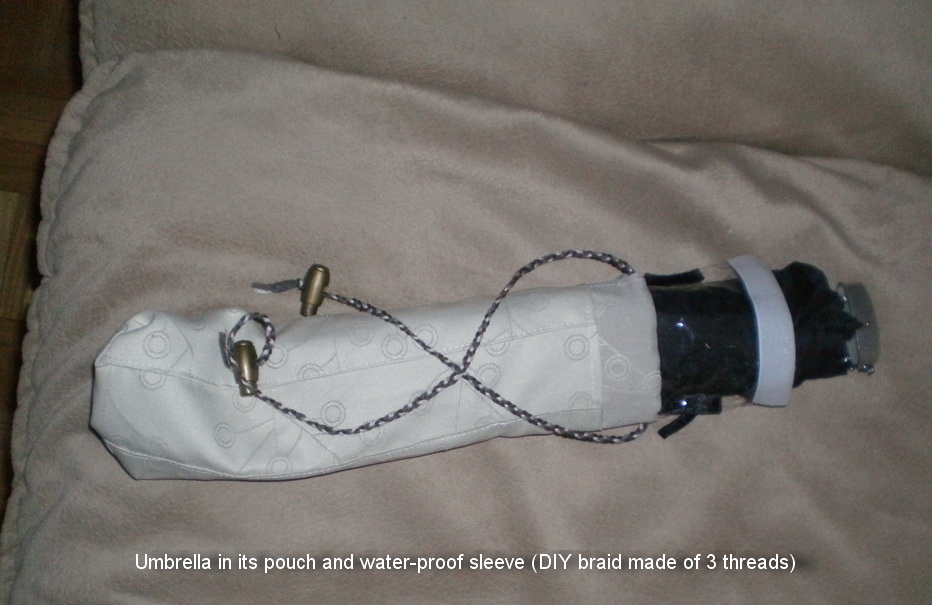
I reworked a good part of it in this last week: I shortened the flanks and replaced stitching with the button which improved their look and joining; reduced the flap, so the totebag finally became foldable to better serve as a purse; the shoulder strap got decorative borders to match with side flanks/edges and flap; I made a carrying handle, made straps for fixing the bag to the cart and umbrella pouch with waterproof sleeve.
I managed to solve most of my primary, key needs stated in week 4 (please visit my week 4 and week 6 slideshows to see the procedure how I solved them. (Sorry if it's lot of 'clicking but otherwise this page would be too big).
If I had more time I would have made during this week a wallet and makeup case of the same fabric because the old ones I have do not match with my Maxxbag! So, this will be my homework for the coming weeks...
As I stated in weeks before, I made my MaxxBag for myself and have no intention to go to market it
And at last but not least, I lay the main stress on the aesthetic aspects. It looks very elegant – doesn’t it :) and I am very satisfied with my final achievement:
In two weeks I’m travelling back home to Belgrade with my Maxxbag that fulfills carry-on restrictions too!
(The whole course and the related assignments I have been doing as a guest at my son's in Toronto!)
My previous sewing experience helped me a lot, but it was a first totebag I ever made.
The most difficult problem was to find the matching hardware – metal rings, swivels, buttons, snaps in one colour (had no slightest idea that something like this can be such a trouble in Toronto. Due to this I learned a new English word: ‘haberdashery’ and also that the last shop of this kind was closed in 2009...)
I reworked a good part of it in this last week: I shortened the flanks and replaced stitching with the button which improved their look and joining; reduced the flap, so the totebag finally became foldable to better serve as a purse; the shoulder strap got decorative borders to match with side flanks/edges and flap; I made a carrying handle, made straps for fixing the bag to the cart and umbrella pouch with waterproof sleeve.
I managed to solve most of my primary, key needs stated in week 4 (please visit my week 4 and week 6 slideshows to see the procedure how I solved them. (Sorry if it's lot of 'clicking but otherwise this page would be too big).
If I had more time I would have made during this week a wallet and makeup case of the same fabric because the old ones I have do not match with my Maxxbag! So, this will be my homework for the coming weeks...
As I stated in weeks before, I made my MaxxBag for myself and have no intention to go to market it
And at last but not least, I lay the main stress on the aesthetic aspects. It looks very elegant – doesn’t it :) and I am very satisfied with my final achievement:
In two weeks I’m travelling back home to Belgrade with my Maxxbag that fulfills carry-on restrictions too!
(The whole course and the related assignments I have been doing as a guest at my son's in Toronto!)
 RSS Feed
