6. ALPHA POTOTYPE
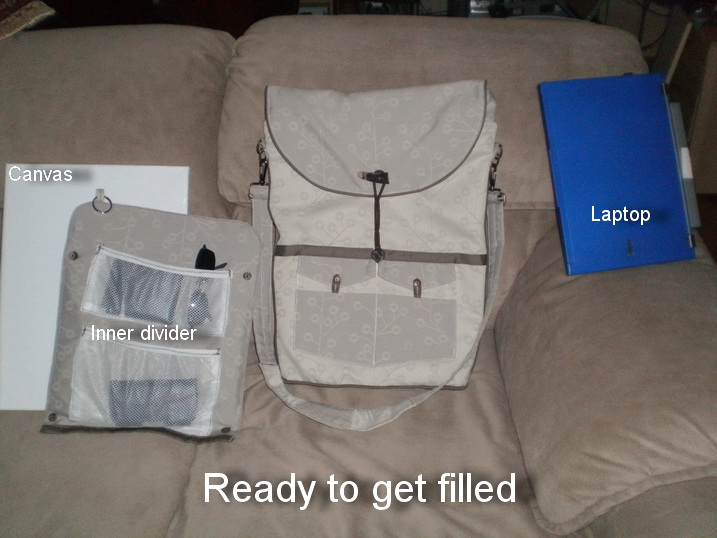
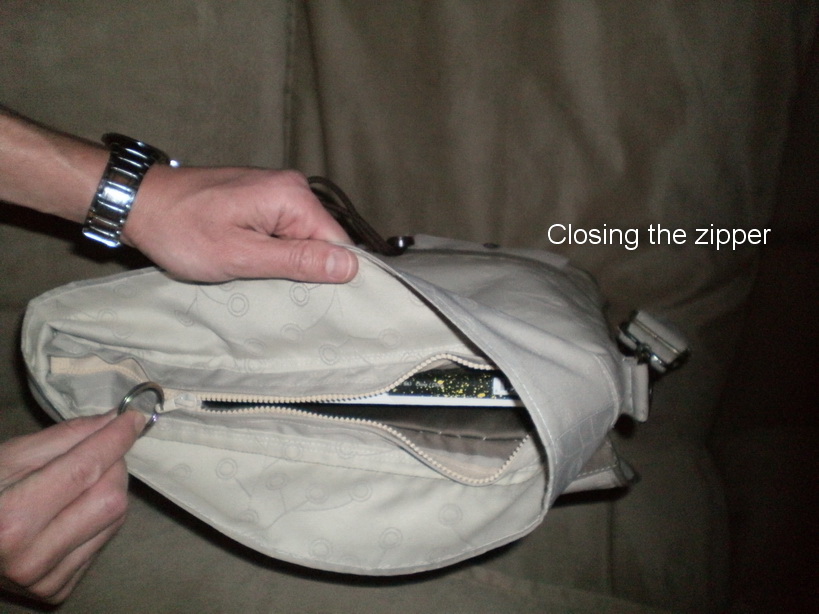
My GAP: In what way might I have a totebag that covers all my needs wherever I go and also serves as a standard purse that can be opened/closed with one hand? I can make it so that it is big enough to hold the biggest item I need occasionally (specifically canvas 30x40 cm); it can serve as a standard purse; it opens/closes with one hand, and it also fulfills aesthetic aspects.
You can see my user needs here and week 5 versions here. In the week 4 slideshow you also might see the procedure of making the totebag.
The size of the bag as initial task in solving my main user need (‘big enough’) was an easy one and didn’t require many iterations just two: round or square bottom which helped me define, from the very beginning, to choose as the final shape of the bag bottom – oval (the first pattern I made had a square bottom and I didn't like it) so, I did measure even more than twice but also cut twice... All of my many tests/ iterations/ re-iterations were made for the details like strap joining, closures (I've already emphasized in week 3), divider (which is at the same time possible holder for many things - week 5 slideshow)
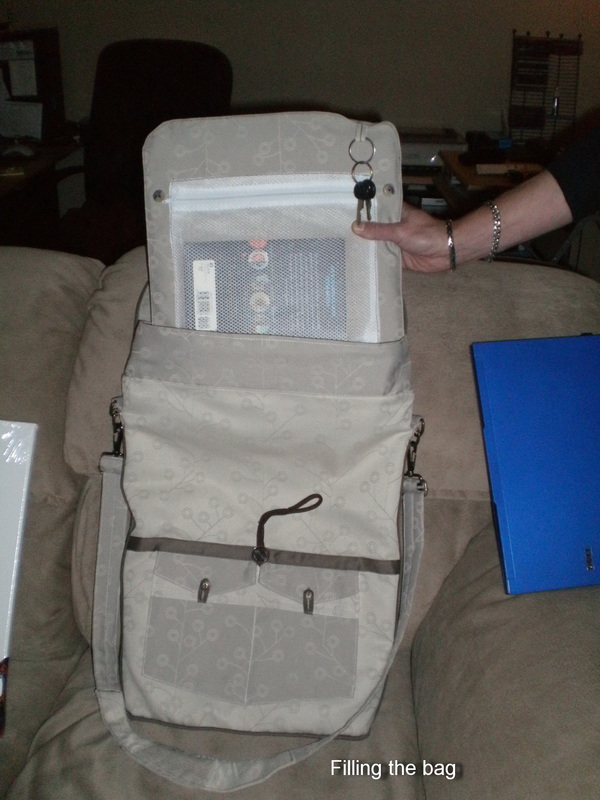
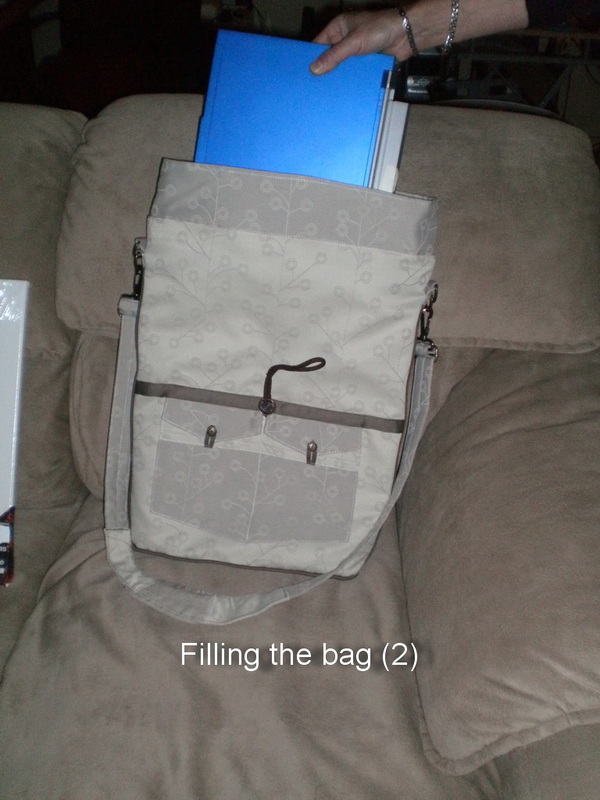
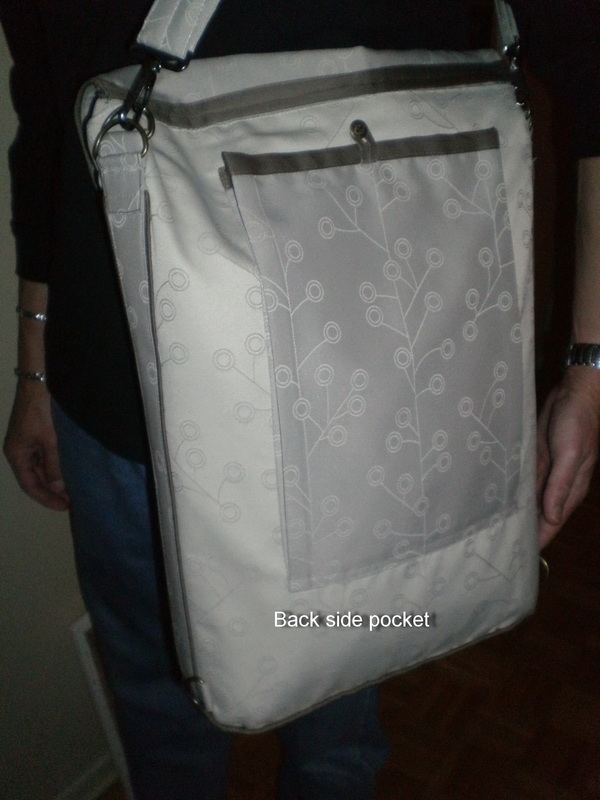
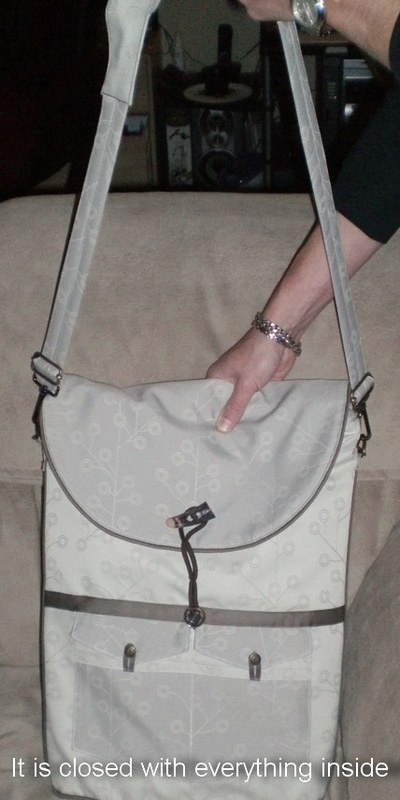
With my Alfa Prototype I've solved most of my key needs which can be seen from the following photos, and this week especially I worked on the aesthetic aspects. It's up to you to estimate how I did it.
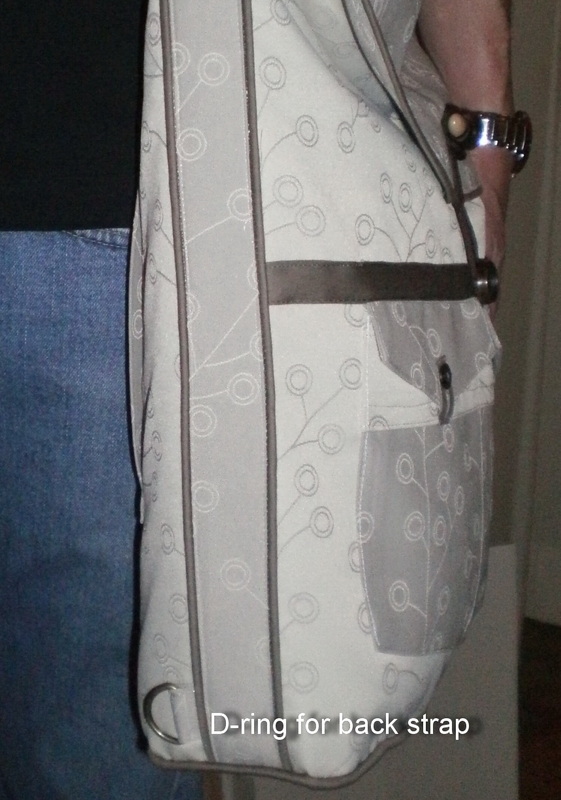
What remains is solution for carrying handle, as well as some kind of straps to fix the bag to the cart,which I experiment with but are not yet ready (4 D-rings are already there as a 'holding' solution), and the solution for water bottle I still 'owe', but wherever I put it, it somehow sticks out...
(Click on the image to enlarge it)
You can see my user needs here and week 5 versions here. In the week 4 slideshow you also might see the procedure of making the totebag.
The size of the bag as initial task in solving my main user need (‘big enough’) was an easy one and didn’t require many iterations just two: round or square bottom which helped me define, from the very beginning, to choose as the final shape of the bag bottom – oval (the first pattern I made had a square bottom and I didn't like it) so, I did measure even more than twice but also cut twice... All of my many tests/ iterations/ re-iterations were made for the details like strap joining, closures (I've already emphasized in week 3), divider (which is at the same time possible holder for many things - week 5 slideshow)
With my Alfa Prototype I've solved most of my key needs which can be seen from the following photos, and this week especially I worked on the aesthetic aspects. It's up to you to estimate how I did it.
What remains is solution for carrying handle, as well as some kind of straps to fix the bag to the cart,which I experiment with but are not yet ready (4 D-rings are already there as a 'holding' solution), and the solution for water bottle I still 'owe', but wherever I put it, it somehow sticks out...
(Click on the image to enlarge it)

Doing this course in a foreign country (Canada) as a guest at my son's I couldn't find anybody else to show and try my totebag.
 RSS Feed
